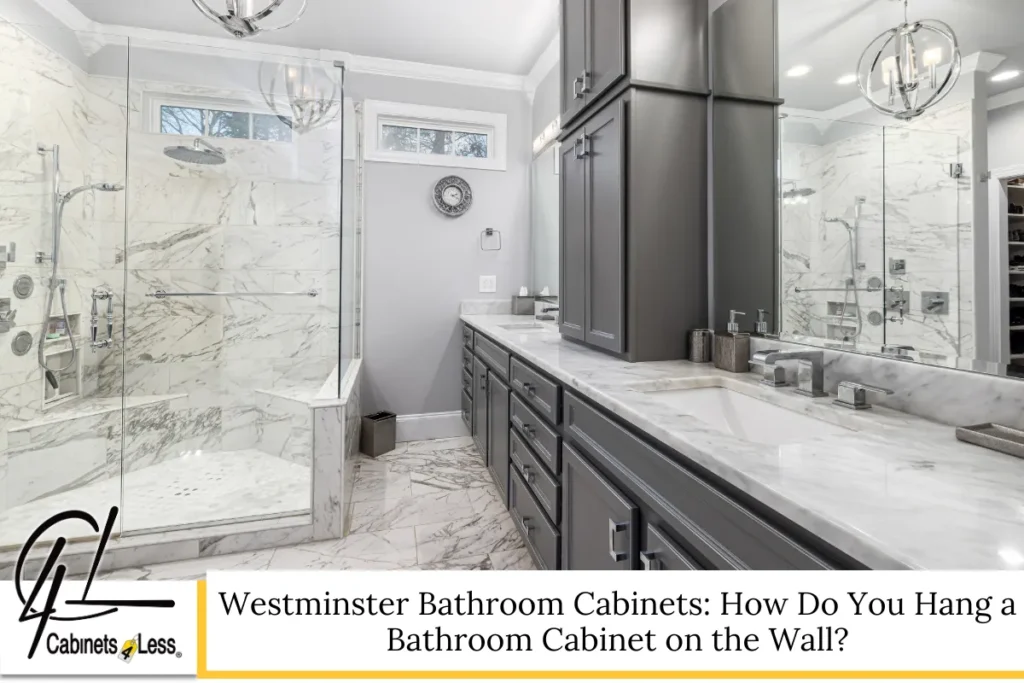
Say Goodbye to Your Old Bathroom Cabinet the Right Way
Westminster Bathroom Cabinets are a key feature in many homes, but removing an outdated cabinet can quickly become frustrating if you don’t know where to start. The problem often begins with uncertainty: is it a simple DIY job or something best left to a professional? As you struggle with stuck screws and awkward angles, it’s easy to feel overwhelmed—especially if your bathroom’s layout is tight or the cabinetry has hidden fasteners. Fortunately, there’s a step-by-step solution that makes removing your old bathroom cabinet much easier than you think. In this guide, you’ll find everything you need to tackle this project safely, efficiently, and without damaging your walls or plumbing—so your bathroom is ready for a fresh, modern upgrade.
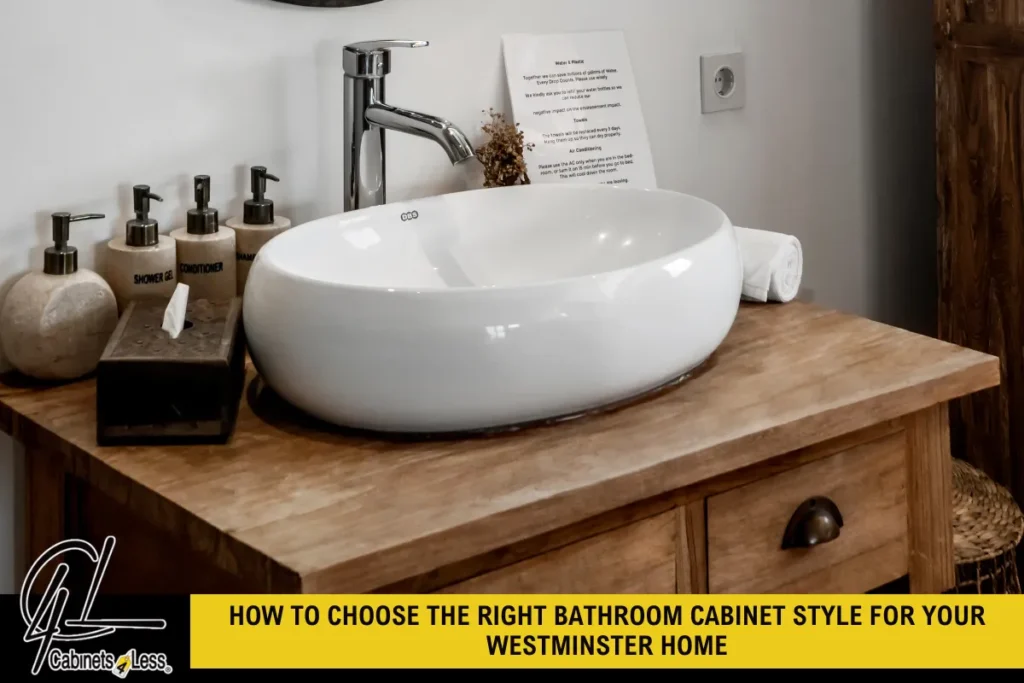
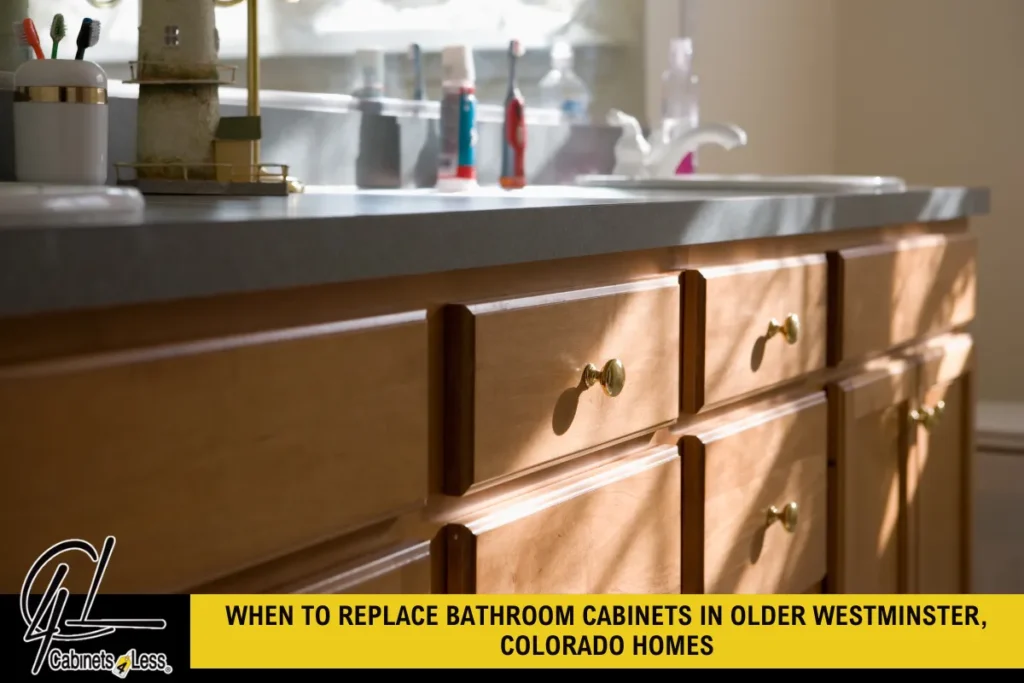
Understanding the Types of Bathroom Cabinets in Westminster
Before removing an old bathroom cabinet, it’s important to identify the type you have in your Westminster home. Bathroom cabinets can range from simple wall-mounted units to larger vanity cabinets or recessed medicine cabinets. Some cabinets are constructed as a single piece, while others are modular and pieced together. Knowing your cabinet’s design will help you gather the right tools and anticipate any challenges.
Common Bathroom Cabinet Styles
- Wall-Mounted Cabinets: These are attached directly to the wall, often above the sink.
- Freestanding Vanity Cabinets: Rest on the bathroom floor, usually supporting the sink and countertop.
- Recessed Medicine Cabinets: Installed within the wall cavity, typically above the bathroom sink.
- Corner Cabinets: Space-saving units fitted into corners for compact bathrooms.
Recognizing which type you have will inform the removal process and minimize potential damage to your bathroom’s walls or floors.
Essential Tools and Supplies for Cabinet Removal
Proper preparation is key to a smooth cabinet removal. Having the right tools and materials will save time and frustration.
Tools You’ll Need
- Screwdriver (Phillips and flathead)
- Utility knife
- Pry bar
- Adjustable wrench
- Hammer
- Pliers
- Safety goggles and gloves
- Painter’s tape
- Drop cloth or tarp
Supplies for Clean-Up
- Trash bags
- Cleaning solution
- Putty or spackling paste for minor wall repairs
Having these items ready ensures you can address any surprises during the cabinet removal process.
Preparing Your Bathroom for Cabinet Removal

Preparation is the foundation for a successful project. Clearing the area, shutting off water, and protecting surfaces will help prevent accidents and make the process more efficient.
Step-by-Step Prep Checklist
- Empty the Cabinet: Remove all personal items, cleaning supplies, and toiletries.
- Shut Off Water Supply: If your cabinet includes a sink, turn off water valves beneath the sink.
- Disconnect Plumbing: Use an adjustable wrench to disconnect water lines and drain pipes.
- Protect Surfaces: Place a drop cloth to safeguard flooring and fixtures from scratches or debris.
- Turn Off Electricity: If the cabinet has built-in lighting, switch off the power at the breaker box.
Taking these steps will reduce mess and keep your bathroom safe during the project.
Removing a Wall-Mounted Bathroom Cabinet
Wall-mounted cabinets are common in Westminster homes. Here’s a detailed approach to removing them safely.
Step 1: Locate and Remove Mounting Screws
Open the cabinet doors and look inside for mounting screws. These are often found at the back or corners of the cabinet, attaching it to wall studs. Remove all visible screws with a screwdriver.
Step 2: Cut Through Sealant or Caulk
Many cabinets are sealed to the wall with caulk or adhesive. Run a utility knife along the edges where the cabinet meets the wall to break the seal. This helps prevent wall damage during removal.
Step 3: Gently Pry the Cabinet Away
With all screws out, use a pry bar to gently loosen the cabinet from the wall. Start at the corners and work slowly to avoid damaging drywall or tile.
Step 4: Remove Cabinet from Wall
Once loose, carefully lift the cabinet off the wall. It’s best to have a second person assist, especially with larger cabinets. Set the cabinet aside on a drop cloth.
Step 5: Clean Up
Remove any remaining adhesive or caulk from the wall. Patch holes with putty or spackle and allow it to dry before painting or installing new cabinetry.
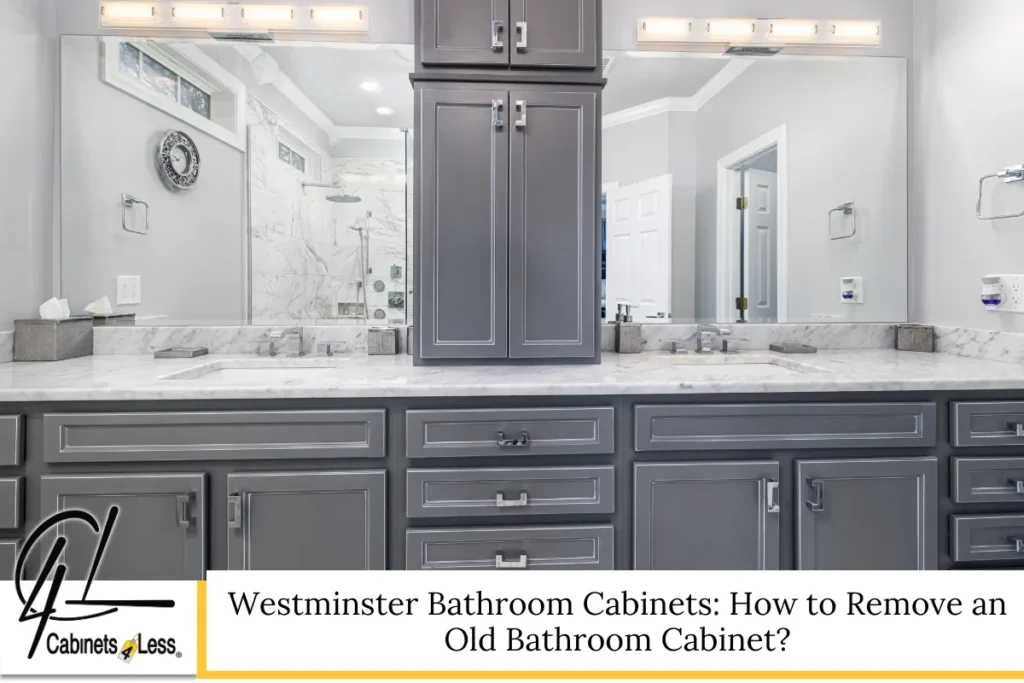
Detaching a Freestanding Vanity Cabinet

Vanity cabinets are usually more complex to remove, since they support sinks and countertops. Here’s how to tackle this job:
Step 1: Remove Countertop and Sink
- Disconnect Plumbing: Use an adjustable wrench to unscrew water supply lines and drainpipes.
- Cut Sealant: Run a utility knife around the edges of the sink and countertop.
- Lift Sink and Countertop: Carefully lift them off the vanity base. For heavy countertops, enlist help.
Step 2: Unfasten Vanity from Wall and Floor
Vanities are typically anchored to the wall with screws or brackets. Open the cabinet doors and remove all screws securing the vanity to the wall. Some may also be attached to the floor—remove those fasteners as well.
Step 3: Pry and Remove Vanity
Once all fasteners are out, use a pry bar to gently pull the vanity away from the wall. Move slowly to prevent tearing drywall or damaging bathroom flooring.
Step 4: Prepare for Next Steps
Dispose of the old vanity or set it aside for donation. Clean the area thoroughly to prepare for your new cabinet installation.
Read Westminster Bathroom Cabinets: How Do You Hang a Bathroom Cabinet on the Wall?
Tips for Removing Recessed Medicine Cabinets
Recessed cabinets require special care due to their installation inside the wall cavity.
- Open the Cabinet: Remove all items and unscrew the interior fasteners.
- Score the Perimeter: Use a utility knife to cut through paint and caulk around the cabinet’s edges.
- Check for Electrical Connections: Some medicine cabinets have built-in lights or outlets. If so, turn off the power at the breaker and disconnect wiring safely.
- Gently Remove the Cabinet: Use a pry bar to carefully pull the cabinet from the wall cavity. Avoid damaging drywall or nearby tile.
Safety Precautions and Troubleshooting
Taking the right precautions can save you time, money, and frustration.
- Always wear safety goggles and gloves to protect yourself from sharp edges and debris.
- Work slowly, especially when using tools near walls or plumbing.
- If you encounter unexpected resistance, double-check for hidden screws or fasteners.
- Consult a professional if electrical wiring or water lines seem complicated or are hard to access.
Careful attention to safety can make the difference between a smooth project and a costly repair.
What to Do After Removing Your Old Bathroom Cabinet

With the old cabinet gone, your bathroom is a blank canvas for new design possibilities.
Next Steps:
- Repair Walls and Floors: Patch any holes or dents left behind.
- Clean the Area: Remove dust, debris, and adhesive residue.
- Measure for New Cabinetry: Accurate measurements are essential for a seamless fit.
- Visit a Cabinet Store or Cabinet Showroom: Explore the latest styles and finishes that fit your bathroom’s needs.
Thinking ahead to your next project phase helps you avoid delays and ensures your new cabinetry will fit perfectly.
Expert Tips for Upgrading Your Bathroom’s Cabinetry
Choosing the right bathroom cabinets makes a big difference in both appearance and functionality. Here’s how to get the best result:
- Measure Twice: Accurate dimensions prevent installation headaches.
- Select Durable Materials: Choose cabinets that withstand humidity and frequent use.
- Explore Modern Features: Soft-close doors, adjustable shelving, and integrated lighting can elevate your bathroom’s look and feel.
- Visit a Local Cabinet Showroom: Get hands-on with various cabinetry options and finishes.
Whether your goal is storage, style, or increasing home value, investing in quality bathroom cabinets pays off.
Westminster Bathroom Cabinets – C4L Cabinetry

Transform your bathroom with top-quality bathroom cabinets from C4L Cabinetry in Westminster, Colorado. As a trusted cabinet store, we offer a wide selection of styles, materials, and finishes to suit any bathroom’s design. Our expert staff is ready to help you find the perfect cabinetry for your home, ensuring it matches your vision and fits your space. While we don’t handle installations, we can recommend skilled local installers to complete your project with confidence. Visit our cabinet showroom or contact us online to get personalized advice and see our extensive range in person. Ready to start your bathroom transformation? Call us at (303) 226-4010 or fill out our contact form today!
Frequently Asked Questions
1. Can I remove a bathroom cabinet without damaging the walls?
Yes, with careful preparation and the right tools, you can remove most bathroom cabinets with minimal wall damage. Always cut through caulk and sealant first to avoid tearing drywall. Work slowly with a pry bar and look for hidden screws before applying force. After removal, minor holes can be patched with spackle for a smooth finish.
2. Do I need to turn off the water supply before removing my cabinet?
Absolutely. If your bathroom cabinet supports a sink, shutting off the water supply is essential to prevent leaks or water damage. Turn off the shut-off valves under the sink and disconnect all plumbing before starting. If the valves are stuck or inaccessible, consider shutting off the main water supply for safety.
3. What should I do with my old cabinet after removal?
There are several options for old bathroom cabinets. If the unit is in good condition, consider donating it to a local charity or reuse center. Otherwise, you can dispose of it at a local landfill or recycling facility. Some cabinet stores also accept old cabinetry for recycling, depending on material and condition.
4. How do I handle cabinets with electrical wiring or lighting?
For cabinets with integrated lights or outlets, always turn off power at the breaker box before removal. Disconnect all wiring carefully, taking photos beforehand if needed for reference. If you’re unsure about handling electrical work, hire a licensed electrician to avoid hazards.
5. Is it possible to reuse the existing countertop with a new cabinet?
Sometimes. If the countertop was installed without adhesive or fastened with removable clips, it can often be reused. Measure your new cabinet to ensure compatibility with the old countertop’s size and sink cutout. If changes are needed or the countertop is damaged, replacing both together may provide the best result.
Read Westminster Kitchen Cabinets: What is the difference between overlay and inset cabinets?